File extensions may prevent you from using files the way you want to. By following the instructions listed below, you will learn the steps required for changing file extensions in Windows 7.
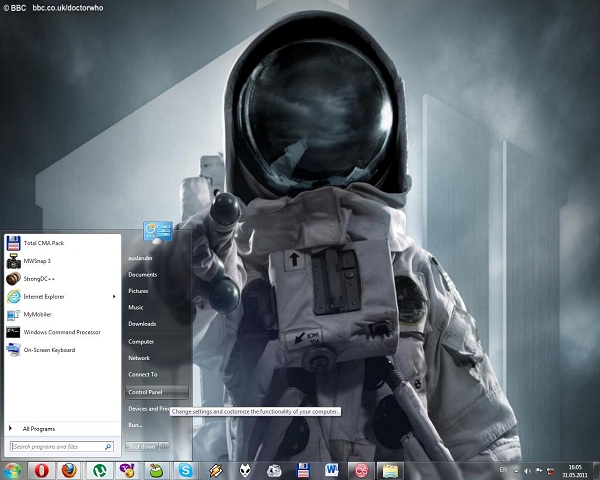
First of all you need to launch the Control Panel. This is easily done by clicking on the Start orb and selecting Control Panel from the list on the right. When hovering the mouse pointer over the Control Panel Link, a text balloon will appear, letting you know that the Control Panel allows you to “Change settings and customize the functionality of your computer.”
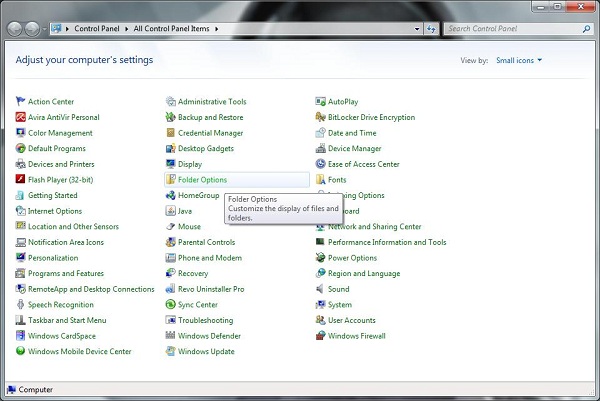
Next, you have to select the Folder Options item from Control Panel in order to customize the display of files and folders. In case the Control Panel items are not displayed like in the above picture, you will have to modify the Viewing mode. Please notice that in the right corner of the window the current selection is “View by: Small icons.”
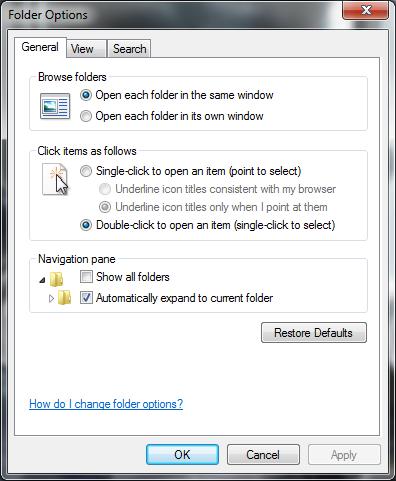
The above window is the one that appears after clicking on the Folder Options item in Control Panel. Keep in mind that you do not need to change anything in this tab. Instead, you will have to click on the View tab.
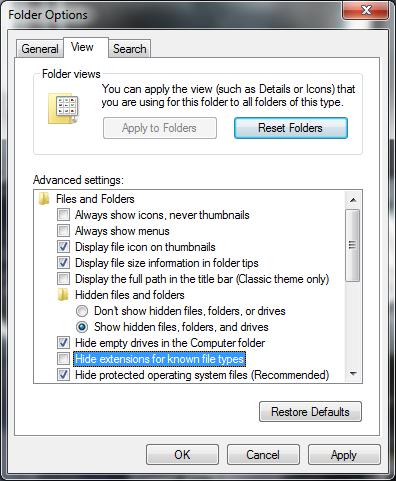
If the “Hide extensions for known file types” is checked, you will not be able to change file extensions in Windows Explorer. Make sure you uncheck it. Press Apply and/or OK, so that the setting is saved. Next, find the problematic file and select it. Click on the file name in order to be able to edit the extension. As an alternative, you can press F2 once the file is selected. You can now change the extension to one that works better with your programs.
Changing the extension in a file explorer such as Total Commander does not require you to alter any settings in Control Panel, so this is also an alternative to be taken into consideration.
If you liked this post, please check this tutorial on how to customize the superbar thumbnails in Windows 7.


