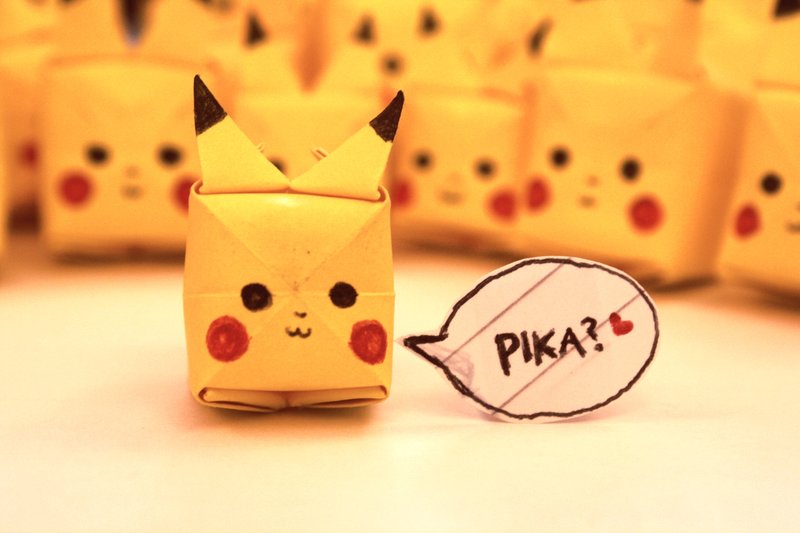
If you ever wondered how to make a Pikachu origami, your search is over. Thanks to synconi you can now make your own.

With this extremely detailed tutorial its now pretty easy to make the traditional Japanese art of paper folding, Pikachu.
*Holiday Tip: This cute origami can be a geeky add as an ornament to your Christmas tree.

What you need: A square of yellow paper, a black pen and a red pen. Try using 7.5 x 7.5 cm.
- Fold the paper in half along the two diagonals and horizontally.
- Draw on Pikachu’s face and black out the top corners of the paper (these will be his ears).
- Turn the paper over and fold inwards along the diagonalsand flatten.
- Flatten the vertical bit of paper, as shown in the diagram.
- Fold the two sides upwards to meet the top of the triangle.
- Turn the paper over and repeat step 5.
- Fold the side flaps inwards.
- Fold the top flaps in half.
- Tuck the little flap into the pocket …
Repeat step 9 on the other flap and pocket.
Turn the paper over and repeat step 7.
- Fold the top flaps down – these are Piko ears.
- Pick up the model and blow through the little hole. It might take a few tries, but keep blowing until he puffs up – as seen in the diagram.
- Perk up the ears and your Pikachu is finished!
Good luck with your cute little Pokemon Pikachu origami figure. Let us know your result!


