The New Nintendo 3DS landed last Friday and for many making the fresh hardware jump it means that laborious task of transferring your precious system data.

Nintendo has provided a step-by-step process to ensure everything goes off without a snag, so that you’ll be soon on your way to enjoying your old digital games and saves on your new Nintendo 3DS XL.
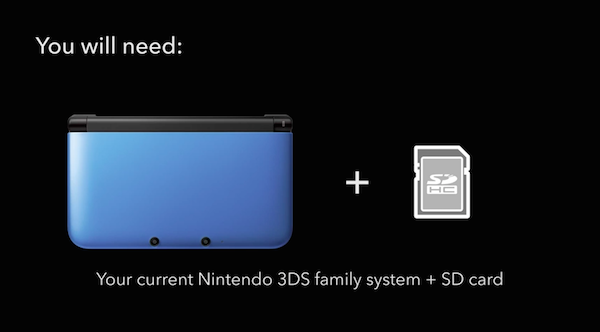
Keep in mind that the new 3DS XL requires a microSD card for its storage (here’s a list of the ones Nintendo officially supports) and you’ll need to keep around your old 3DS to transfer your data between systems.
Reportedly, and not the ideal of solutions, some GameStop locations – not all – will allow you to take your new system home; complete the system data transfer; take back both existing and new systems to the GameStop you bought it, and get both the complete refund value and trade-in value for your purchase.
You’ll also need a #0 sized Philips screwdriver to remove the back panel of the new 3DS XL to install the 4GB microSD card that comes standard with each unit, which is locked behind two small screws. It’s also a good idea to make sure both systems have the most up-to-date firmware, too.
Another protip: Be gentle when removing said back panel. It’s on pretty snug tight, and while you might be eager to use something more appropriate to remove it, doing so might cause it to be damaged. Yeah, ouch. Nintendo recommends using the butt of a 3DS stylus to remove the panel. And yes, lots and lots of patience. Don’t fret, it will come off.
With that said, here’s the step-by-step video of the whole 3DS XL system transfer provided by Nintendo:
Source: Nintendo
Be social! Follow Walyou on Facebook and Twitter! And read more geekiness from across the web, like the Batmobile iPhone 6 case that’s themed after the Tim Burton movies and an Amp iPad speaker case enhances the iPad experience.


