Mac OS X has a plethora of customization options when you know where to look. By tapping in to the power of Terminal anyone can tweak every aspect of their Mac.
A Primer On Terminal
The key to tweaking anything and everything about your Mac is knowing how Terminal works and knowing which Applications tap in to its power.
Apple built OS X on a Unix core and skinned the operating system with an amazing graphical user interface (GUI). While OS X may look user friendly on the outside, its underpinnings and visual elements are controlled by UNIX commands. Running an operating system based on commands would be crazy thus the need for a GUI but that doesn’t mean we can’t have a little fun tweaking our Mac’s interface by getting down and dirty in Terminal.
1. 2D/3D Dock
When Leopard adapted the 3D Dock some didn’t welcome the extra dimension. Personally I like the flat 2D dock and if you share the same design taste you can force OS X to display what would be the side view Dock in place of its 3D brother:
defaults write com.apple.dock no-glass -boolean YES
killall Dock
If you feel your Dock looks better in 3D, it’s very simple to switch back:
$ defaults write com.apple.dock no-glass -boolean NO
killall Dock
2. Trick Out Stacks
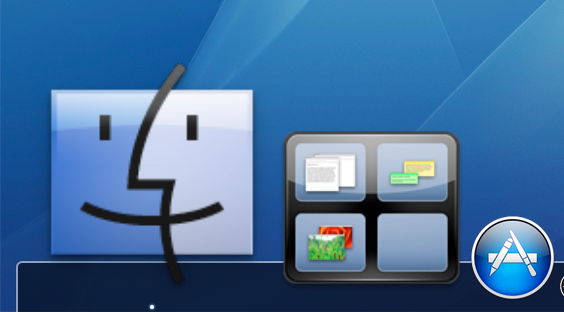
Stacks is one of the more useful features of Leopard and no less than a few have had a home in my dock. If you want to super charge your Stacks, this command will help you navigate the dozens of Apps and files in your Stacks. To add a gradient highlight to selected items, type the below command and rejoice! You just made keyboard navigation much, much easier through Stacks.
defaults write com.apple.dock mouse-over-hilte-stack -boolean YES
Killall Dock
3. Bring Widgets To The Desktop
Since Dashboard’s introduction in OS X Tiger Widgets have been confined to a layer that engulfs your desktop. This environment for Widgets works great if you aren’t always accessing them but what if you interact with a handful of Widgets multiple times a day? The solution is to bring them to the desktop:
defaults write com.apple.dashboard devmode YES
You can drag Widgets from Dashboard to the desktop very easily but you may need to restart your Mac for this command to take effect. To reverse the effect change ‘YES’ to ‘NO’.
4. Make Your Screensaver A Desktop
If you want to add an extra bit of flair to your Mac, you can enable the currently selected screen saver as your background image. A word of warning: this command will make any slow Mac crawl on its knees and beg for a static .JPG instead of a screen saver for a wallpaper.
/System/Library/Frameworks/ScreenSaver.framework/Resources/ScreenSaverEngine.app/Contents/MacOS/ScreenSaverEngine -background
When you’re done with the fun switch back to Terminal and hit Control + C to disable the screen saver.
5. Show Hidden Files
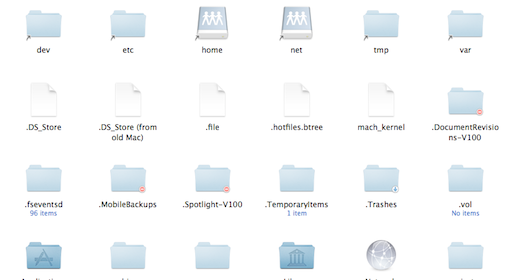
When you peruse files in Finder, you never see every single folder and file in OS X. This is done by Apple so excess files like window parameters and critical system files aren’t tampered with. If you’re feeling particularly adventurous and want to start delving in to OS X’s subsystem, enabling hidden folders is the place to start.
defaults write com.apple.finder AppleShowAllFiles TRUE
However, you can do something very useful with hidden files. To hide a file for security purposes, add a ‘.’ before the file name. When hidden files are disabled, you’ll see that file or folder disappear and when re-enabled the same file will show up again in its original location.
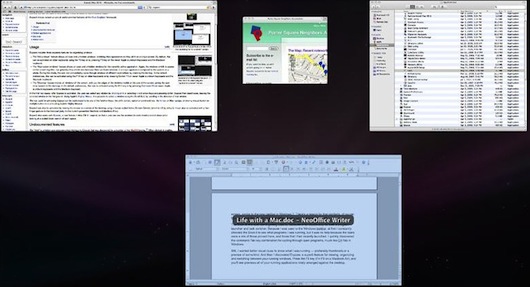
6. Summon The Expose Blob
Expose is one of the greatest features introduced in OS X and Apple has taken every means necessary to ensure you can access it in some way. Even OS X Lion is making Expose more accessible for the every day user but there’s another hidden way to access the feature. Nicknamed the Blob is a Terminal command that places an aqua blue sphere on your desktop that triggers Expose:
defaults write com.apple.dock wvous-floater -bool TRUE
killall Dock
To send the Blob back to the depths of OS X simply change ‘TRUE’ to ‘FALSE’
7. Increase Dock Magnification
If your Dock is packed to the brim with Apps and folders, you may need to boost magnification beyond the limits Apple imposes in System Preferences:
defaults write com.apple.dock largesize -int 512
You’ll find some icons are pixelated if they aren’t 512 x 512 and going above that size can lead to you wrestling your Dock’s magnification settings. To revert back to the default magnification size, change 512 to 128.
8. Enable The Debug Menu In Safari
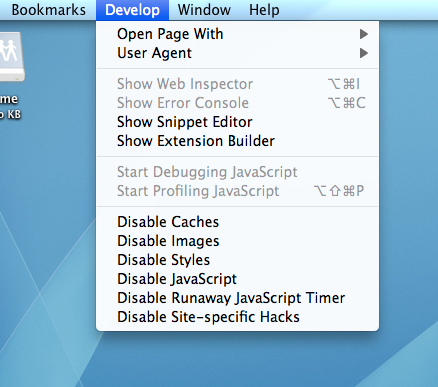
Safari is one of the best browsers available but falls behind Firefox when it comes to customization. To add more functionality to Safari such as being able to switch User Agent IDs type this command in Terminal.
defaults write com.apple.Safari IncludeInternalDebugMenu 0
9. Make Time Machine Backup Faster
Time Machine can be great for recovering parts of project if you haven’t saved and speeding up its backup schedule can minimize the loss of more work during a disaster. The default schedule Time Machine follows is an hour between backups. If your Hard Drive dies 55 minutes after the latest Time Machine backup you’ve just lost that much work. While it’s an extreme example, those working on mission critical tasks will appreciate quicker Time Machine backups. OS X uses seconds to determine when the next backup will occur. Changing the default of 3600 seconds (1 hour) to 1800 (30 minutes) or 900 (15 minutes) will force Time Machine to backup more frequently.
sudo defaults write /System/Library/LaunchDaemons/com.apple.backupd-auto StartInterval -int 1800
10. Watch Star Wars
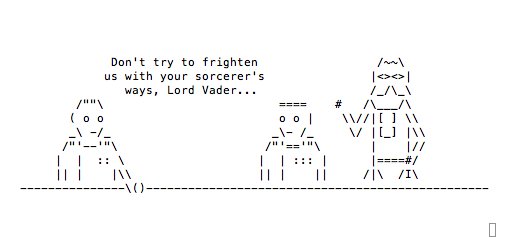
While Terminal is used to control various aspects of your Mac, it can be used for a bit of fun. For the Star Wars savvy, you can watch Episode 4 rendered in ASCII via Telnet:
telnet towel.blinkenlights.nl


